On Friday, November 2 at 8:45 AM The Art Spark will be on Fox News! We will be doing a segment on fun Thanksgiving art activities to do with your kids at home. Below are the three art projects that we showed on the News Special with tutorials! Check it out!
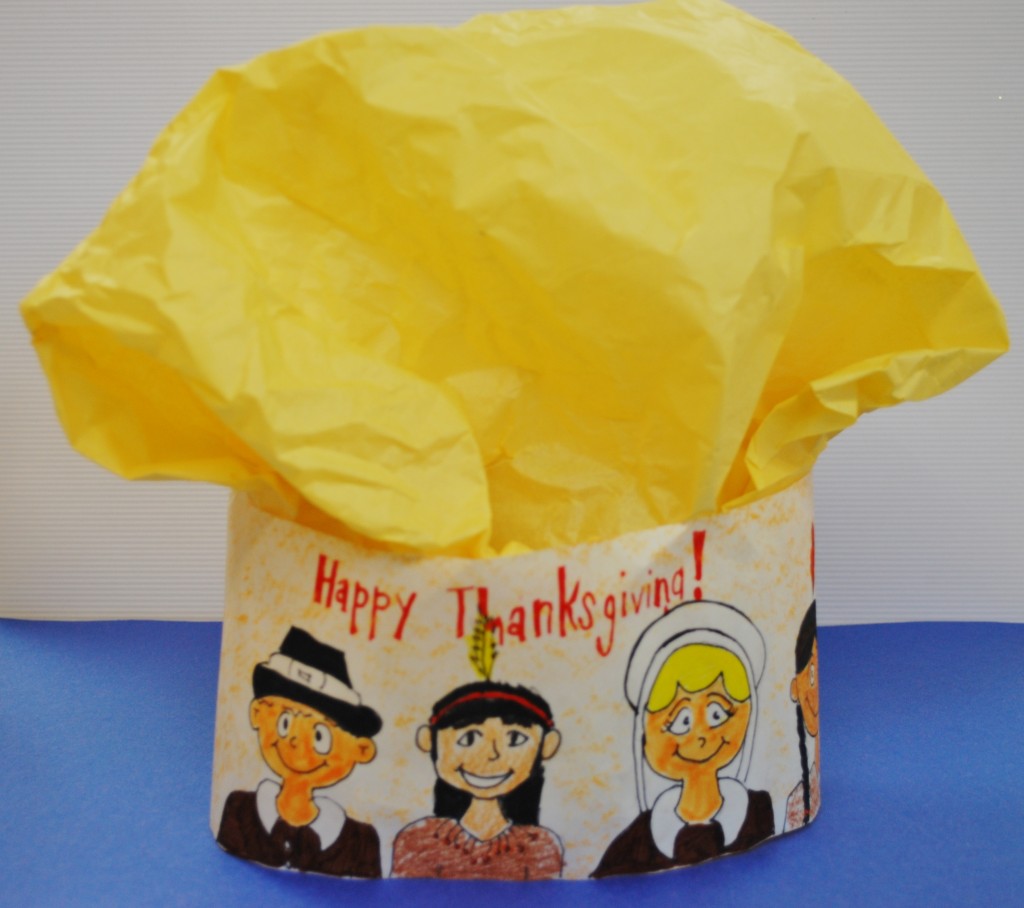
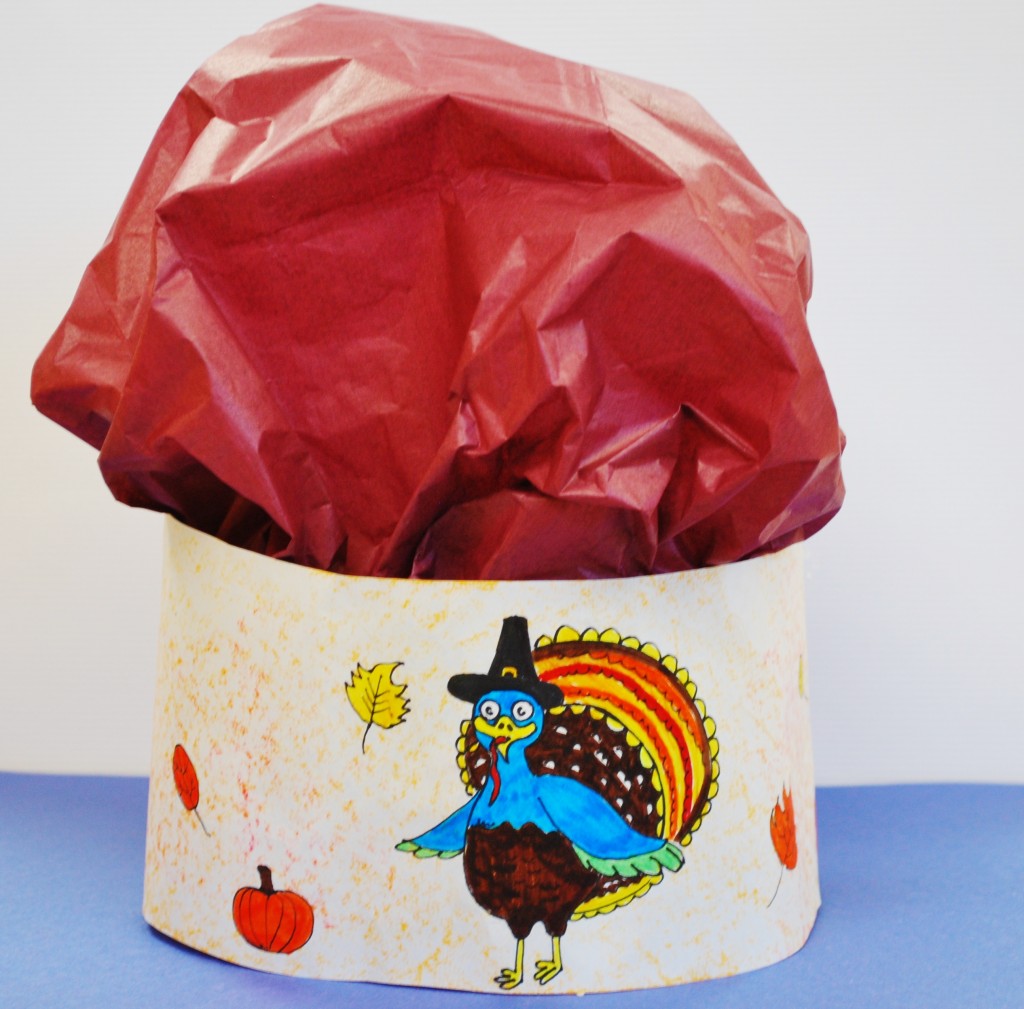
Thanksgiving Chef Hats
Chef Hat Instructions
Supplies
-Tissue Paper
-Printer Paper
-Markers or Crayons
-Tape or Staples
-Scissors
1.) First you and your child will need to make the band of your chef hat. Take the printer paper and cut it into a long piece that can wrap around the head of your child. You may need more than one piece of printer paper to do this.
2.) Your child can then decorate the band using markers or crayons. Since this is a chef hat they can wear while helping make Thanksgiving dinner, encourage your child to draw Thanksgiving themed drawings.
3.) Take the band and wrap it around your child’s head to measure how large the band needs to be to fit. Once you have a good fit, secure the band by taping or stapling the band to keep its shape.
4.) Have your child pick out a full sheet of tissue paper in the color of their choice. Tape or staple each corner to the inside of the band. Fluff up the tissue paper so the hat is nice and poofy.
5.) The chef hat is now ready for your child to wear. Have fun cooking together!
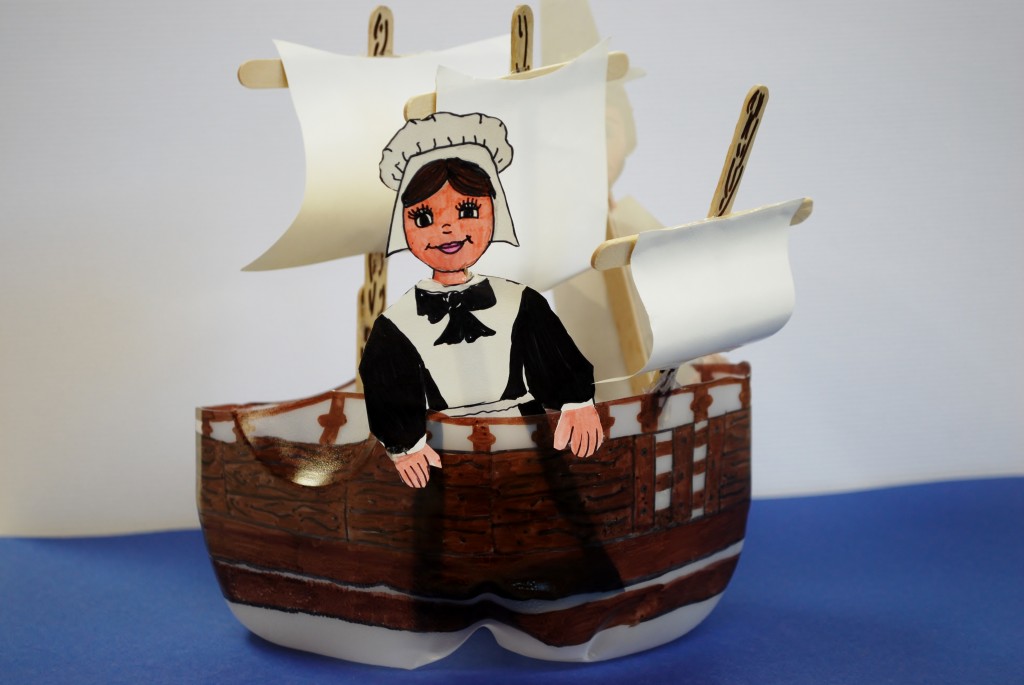
Mayflower Boats
Mayflower Boat Instructions
Supplies
-Plastic milk jug or plastic juice container
-Utility Blade or Sharp Scissors *For adult use only
-Permanent markers or permanent paint (acrylic paint)
-Paint Smock
-Popsicle Sticks
-White printer paper
-Scissors
-Crayons
-Hot Glue Gun *For adult use only
1.) * This step is for adults* First you will need an empty plastic milk jug (gallon size is best) or plastic juice container. The plastic containers allow the boats to actually float! Using a permanent marker draw a line on the container where you will be cutting. Draw the line about 3.5 inches up from the bottom of the container. Using a utility knife or a sharp pair of scissor cut along the line. You and your child will use the bottom of the container for the boat.
2.) Have your child put on an old t-shirt or a paint smock for the next step. Your child can begin decorating the boat with permanent marker or acrylic paint. If your child wants to play with the boat in actual water, you will need a permanent material to decorate the boat. Turning the container into the Mayflower Ship can be really fun, but if your child wants to make it into a pirate ship, rainbow ship, cruise ship, etc. encourage them!
3.) Popsicle sticks and printer paper can serve as fun sails on the ship! Your child can cut and decorate the sails however they like. Have your child show you where they would like the sails to go on their ship. * This step is for adults* Using a hot glue gun glue their sails into place on the ship.
4.) Another fun step for your child is making people to be passengers on their ship. Your child can draw pilgrims (or whatever they would like) on paper using crayons and then cut out their passengers. * This step is for adults* Using a hot glue gun glue their passengers onto popsicle sticks so they are easy to move around and play with. This can also be done with Elmer’s Glue.
5.) The ship is ready to set sail in a bathtub or plastic tub! Have fun!
Snowman Soap Sculpture
Snowman Soap Sculpture Instructions
Supplies
-bar of soap that’s been ground in food processor (can be bought of our Etsy store: http://www.etsy.com/shop/SparkStarters?ref=pr_shop_more)
-water
-water bowl
-wax paper or foil
-beads
-toothpicks
-construction paper
-scissors
1.) Once your child has the ground up soap (it will look like mozzarella cheese) have them put it on a piece of wax paper or foil.
2.) Make sure you have a bowl of water next to your work station. Soap sculptures only work when you have water! Use your hands to scoop water (2-3 times) from the bowl onto your mound of soap.
3.) Begin to cup your hands around the soap and water mixture until you have a nice snowball shape. Do not be afraid to pick it up and pack it like a snowball. You will begin to see bubbles on your hands at this point. You are now ready to begin your sculpture!
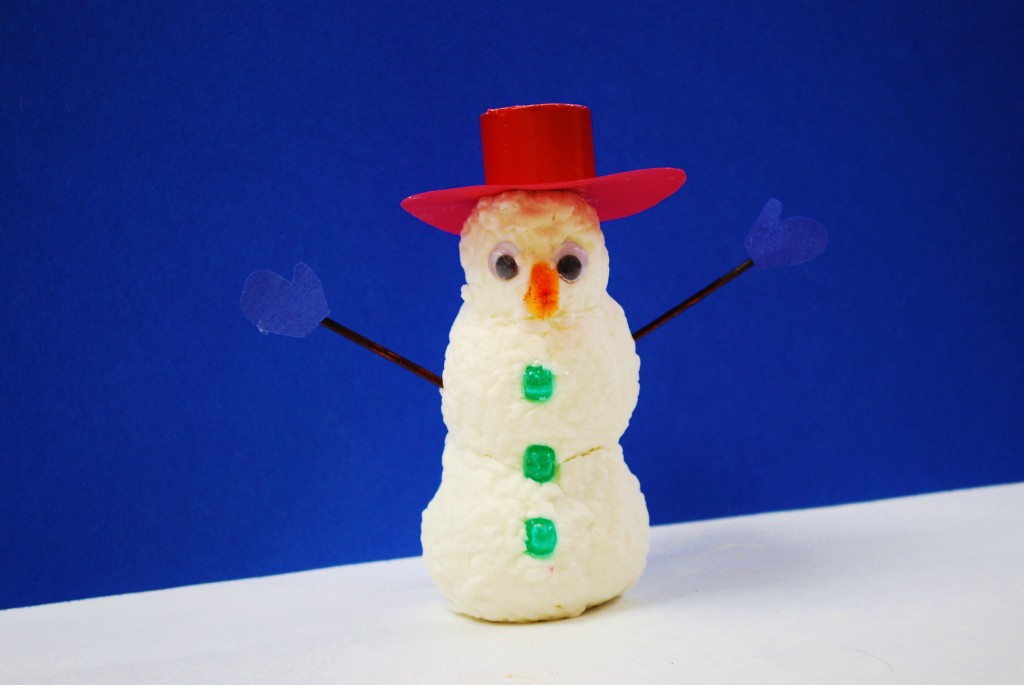
4.) To make a snowman sculpture. You will need three balls of soap (small, medium, and large). Roll your balls of soap and push them together.
3.) While your sculpture is still wet, create your snowman’s face by pushing beads into the sculpture. You can also use toothpicks for arms and cut construction paper for a hat, mitten, or scarf.
4.) Once your sculpture is finished let it air dry over-night. By the next day your sculpture will be strong and dried. Guess what! You can use your soap sculpture to wash your hand if you want!
